 Save
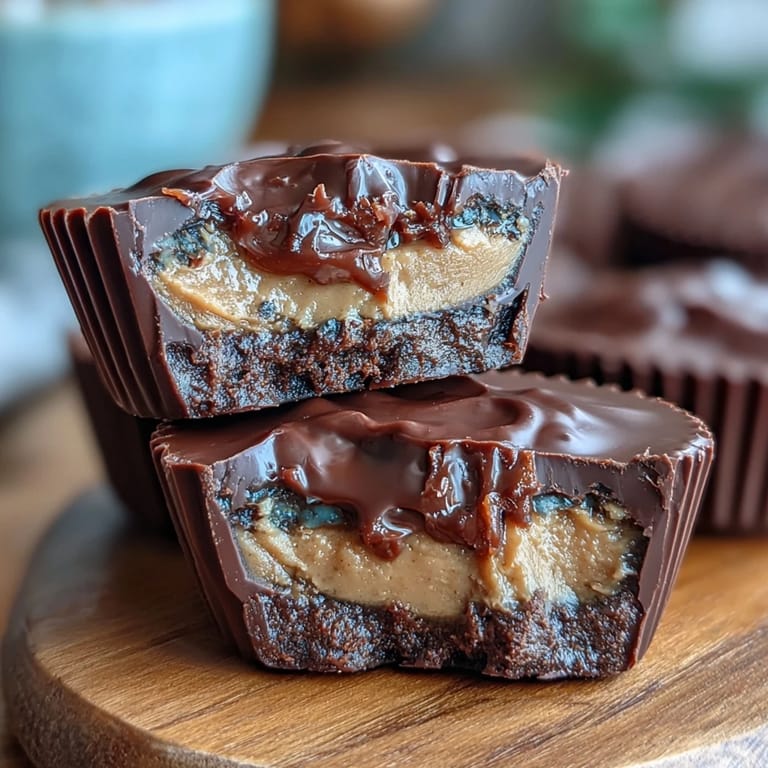
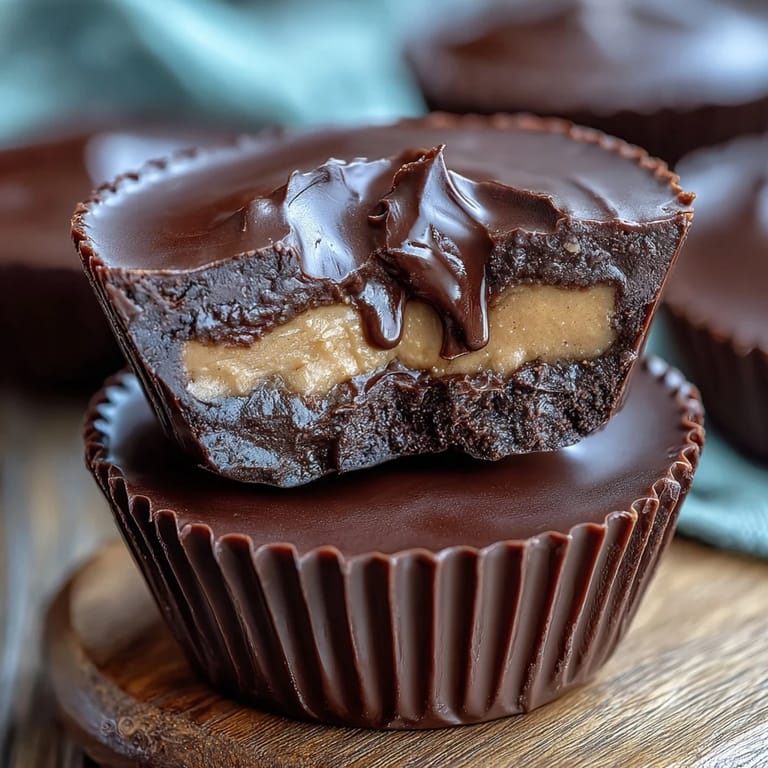
Save My kitchen smelled like a candy factory the afternoon I decided homemade Reese's cups were worth the attempt. I'd been buying the store-bought version for years, convinced that recreating them at home would be impossibly fussy, but then a friend casually mentioned she'd made them in under an hour. That challenge stuck with me, and one Saturday I gathered my chocolate, peanut butter, and a mini muffin tin, ready to prove myself wrong. Turns out, they're wonderfully simple, and the moment I bit into that first chocolate-peanut butter combination I'd made myself, I understood why she'd never gone back to the packaged kind.
I made these for my partner's birthday last spring, packaging them in a small glass jar with kraft paper between layers. Watching his face light up when he realized they were homemade felt better than any store-bought gift could have, and he ate two that evening and one more the next morning before I'd even finished cleaning up. That's when I knew I'd found something keeper-worthy.
Ingredients
- Dark chocolate (250 g, 70% cocoa or higher), chopped: Higher cocoa percentages balance the sweetness of the peanut butter filling without overpowering it; I've learned to chop it fairly uniformly so it melts evenly.
- Coconut oil (1 tbsp, optional): This makes the chocolate silkier and easier to work with, though it's not strictly necessary if your chocolate is good quality.
- Creamy peanut butter (120 g, unsweetened and unsalted preferred): The unsweetened version lets you control the sugar level, and unsalted means the filling's salt stays balanced.
- Unsalted butter (2 tbsp, softened): Softened butter blends into the peanut butter without lumps, creating a filling that's smooth rather than gritty.
- Powdered sugar (60 g, sifted): Sifting removes clumps and keeps the filling texture creamy; I learned this the hard way after my first batch had grainy spots.
- Fine sea salt (¼ tsp): This tiny amount enhances the chocolate-peanut butter contrast without making them taste overtly salty.
- Vanilla extract (½ tsp): A subtle addition that rounds out the filling's flavor and adds a hint of warmth.
Tired of Takeout? 🥡
Get 10 meals you can make faster than delivery arrives. Seriously.
One email. No spam. Unsubscribe anytime.
Instructions
- Line your muffin tin:
- Fit paper liners into each cup of a 12-cup mini muffin tin so they sit snugly and won't slip when you're spooning chocolate.
- Melt the chocolate gently:
- Either use a double boiler (heatproof bowl over simmering water) or microwave in 20-30 second bursts, stirring between each burst until completely smooth. Double boiler gives you more control and is less likely to scorch the chocolate.
- Create the chocolate base:
- Spoon roughly 1 teaspoon of melted chocolate into each liner, then tilt the tin and use a spoon to coat the bottom and sides slightly. This first layer is crucial because it holds everything together.
- Freeze the chocolate layer:
- Pop the tin in the freezer for exactly 10 minutes—this firms up the chocolate so your peanut butter layer won't sink in or cause the chocolate to crack.
- Make the filling:
- In a medium bowl, stir together the softened butter, peanut butter, sifted powdered sugar, salt, and vanilla until the mixture is smooth and thick enough to hold its shape. It should feel like soft modeling clay.
- Add the peanut butter layer:
- Roll about 1 teaspoon of filling into a ball, then flatten it slightly with your palm and place it on each chocolate base. Press gently so it spreads into an even layer, but leave a small border of chocolate showing around the edges.
- Top with chocolate:
- Spoon the remaining melted chocolate over each peanut butter layer, making sure to cover it completely. Tap the tin gently on the counter to smooth out the tops and release any air bubbles.
- Chill until set:
- Refrigerate for at least 30 minutes until the chocolate is completely firm. You can speed this up by using the freezer for 15 minutes, but the fridge is gentler and prevents the chocolate from becoming brittle.
- Remove and serve:
- Pop each cup out of its liner and arrange them however you like. They're best served slightly cool, and they'll keep in an airtight container in the fridge for up to a week.
 Save
Save There's something satisfying about unwrapping a paper liner from a homemade peanut butter cup and feeling the chocolate crack between your teeth before the filling melts on your tongue. It's the kind of small pleasure that reminds you why cooking for yourself, even when it's just candy, matters.
Flavor and Texture Tips
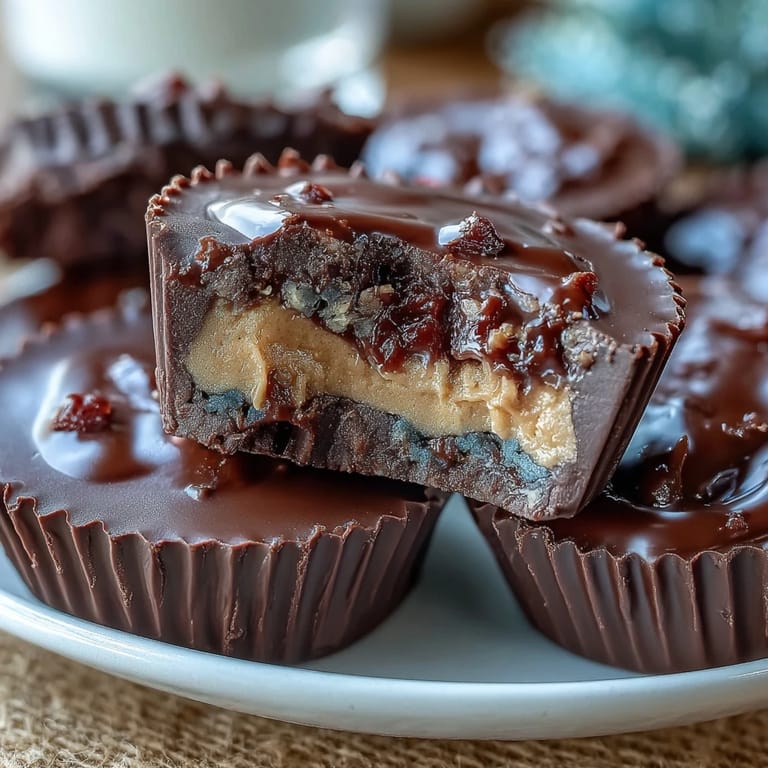
The magic of these cups lives in the contrast between the dark, slightly bitter chocolate and the sweet, salty peanut butter filling. If you find store-bought versions too sweet, you'll appreciate being able to dial back the sugar here by using unsweetened peanut butter and adjusting the powdered sugar to taste. Some people prefer their cups thicker with peanut butter, others prefer a thinner filling—the recipe as written is balanced, but don't hesitate to adjust to your preference.
Creative Variations Worth Trying
Once you've made these once, the door opens to experimentation. I've tried swapping the peanut butter for almond butter (which tastes lighter and more elegant) and cashew butter (which is almost creamy in a different way). A friend added a sprinkle of flaky sea salt on top of the peanut butter layer before sealing with the final chocolate layer, and it became my favorite version. You could also press a slightly roasted hazelnut into each peanut butter layer, or dust the top with cocoa powder before it sets.
Storage and Serving Suggestions
These cups are at their best when kept in the refrigerator, where the chocolate stays snappy and the peanut butter filling stays firm but not rock-hard. They'll keep for up to a week in an airtight container, though in my house they usually disappear within a few days. They pair beautifully with strong coffee in the morning or as a little after-dinner treat with a glass of cold milk, and they're sturdy enough to pack into lunch boxes or gift to friends.
- If the chocolate becomes too firm to bite through, let the cups sit on the counter for 5-10 minutes to soften slightly before eating.
- Make a double batch and freeze extras in a sealed container for up to a month—they thaw in the fridge in about an hour.
- If you're giving these as gifts, wrap them individually in wax paper or place them in small paper cupcake liners for a polished presentation.
 Save
Save Making these homemade peanut butter cups has become my favorite small act of self-care, the kind of simple project that reminds me I'm capable of creating something delicious from just a handful of ingredients. They're proof that the best treats don't require complicated techniques—just attention, a little patience, and chocolate.
Recipe Q&A Section
- → What type of chocolate is best for these cups?
Use dark chocolate with 70% cocoa or higher for a rich, intense flavor and a firm texture after chilling.
- → Can I substitute the peanut butter with other nut butters?
Yes, almond or cashew butter can be used for a different yet delicious variation on the classic flavor.
- → Why chill the chocolate before adding the filling?
Chilling sets the chocolate, creating a sturdy base that prevents the filling from mixing and helps maintain the cup shape.
- → What purpose does the coconut oil serve in the chocolate layer?
Coconut oil smooths the melted chocolate, making it easier to coat and giving the final texture a pleasant snap.
- → How should these cups be stored?
Store in an airtight container in the refrigerator for up to one week to keep them fresh and maintain texture.
- → Can these cups be made vegan?
Yes, by substituting dairy butter with a dairy-free alternative and ensuring the chocolate is dairy-free, vegan versions are possible.