 Save
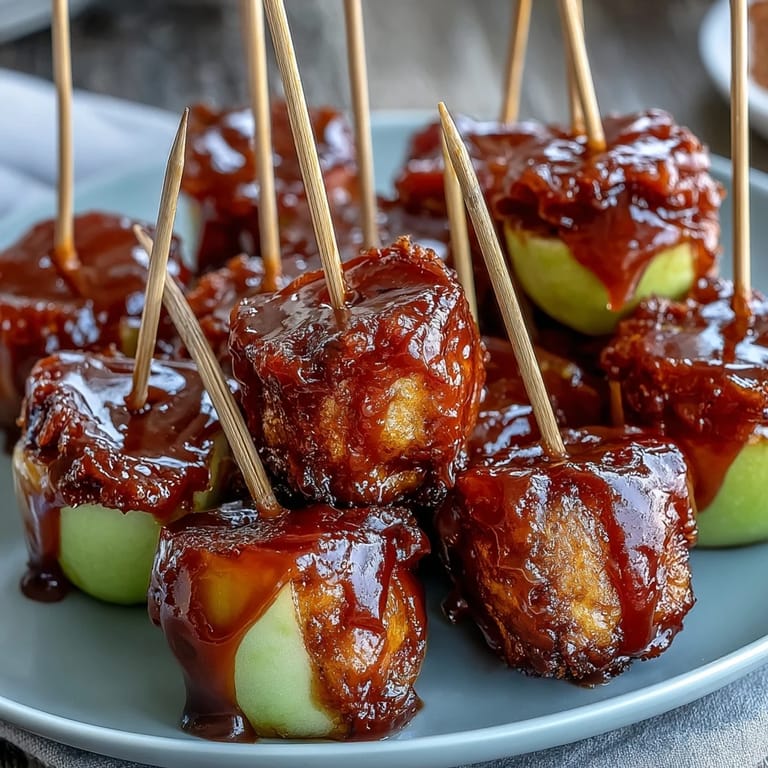
Save My sister brought these to a potluck last summer, and I watched them disappear faster than the chips and dip combined. There's something magical about biting through that glass-like candy shell to hit the tart apple inside, and suddenly you're transported back to childhood carnivals without all the guilt. She swore they were complicated, but when she walked me through it in her kitchen one afternoon, I realized it was just sugar, heat, and speed. Now they're my go-to when I need something that looks fancy but won't stress me out.
I made these for my nephew's soccer team end-of-season celebration, and I've never seen ten-year-olds move so strategically around a dessert table. One kid came back three times, and his mom gave me a look somewhere between grateful and exasperated. Watching people's faces light up when they bit through that hard candy shell and found the soft, juicy apple inside made me understand why my sister was so proud of her discovery.
Ingredients
- 2 large crisp apples: Granny Smith or Fuji work beautifully because they're tart enough to cut through the sweetness and firm enough to hold up to the hot candy without turning to mush.
- 1 cup granulated sugar: This is the backbone of your candy coating, so don't skip it or try to reduce it.
- 1/3 cup light corn syrup: This keeps the candy from crystallizing and gives it that glossy, professional look.
- 1/4 cup water: Just enough liquid to get everything dissolved before the boiling begins.
- 1/4 teaspoon red food coloring: Add this after you hit hard crack stage so the heat doesn't burn off the color.
- Nonstick cooking spray: A light mist on your parchment keeps everything from sticking and makes cleanup almost painless.
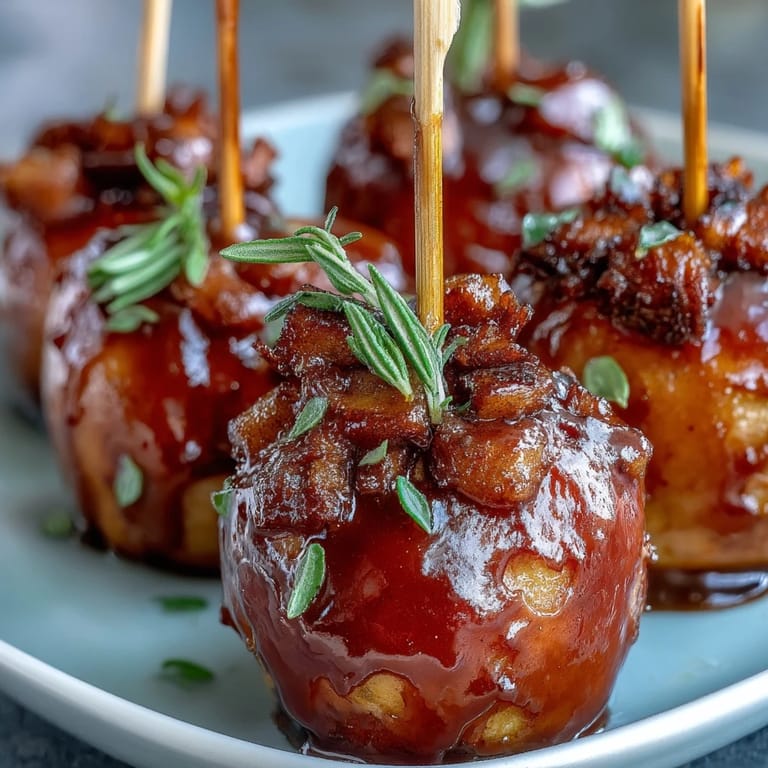
- Optional toppings: Chopped nuts, mini chocolate chips, or sprinkles are your chance to get creative, so add them while the candy is still warm and sticky.
Tired of Takeout? 🥡
Get 10 meals you can make faster than delivery arrives. Seriously.
One email. No spam. Unsubscribe anytime.
Instructions
- Set up your workspace:
- Line a tray with parchment paper and give it a light spray of nonstick spray, then gather your toothpicks nearby because once the candy is ready, you'll be moving fast.
- Prep the apples:
- Core and chop your apples into roughly one-inch chunks, then pat them completely dry with paper towels because any moisture will make the candy slide right off. Insert a toothpick into each piece and set them aside on a clean plate.
- Make the candy mixture:
- Combine sugar, corn syrup, and water in a saucepan over medium-high heat, stirring just until everything dissolves and the mixture comes to a boil. Once it's boiling, stop stirring and let it cook undisturbed for about seven to eight minutes.
- Monitor the temperature:
- Use a candy thermometer to watch the mixture climb toward 300°F, which is the hard crack stage where the candy will have that satisfying snap when you bite it. Don't walk away during this part, and keep your hand and face clear of any steam.
- Add color and work quickly:
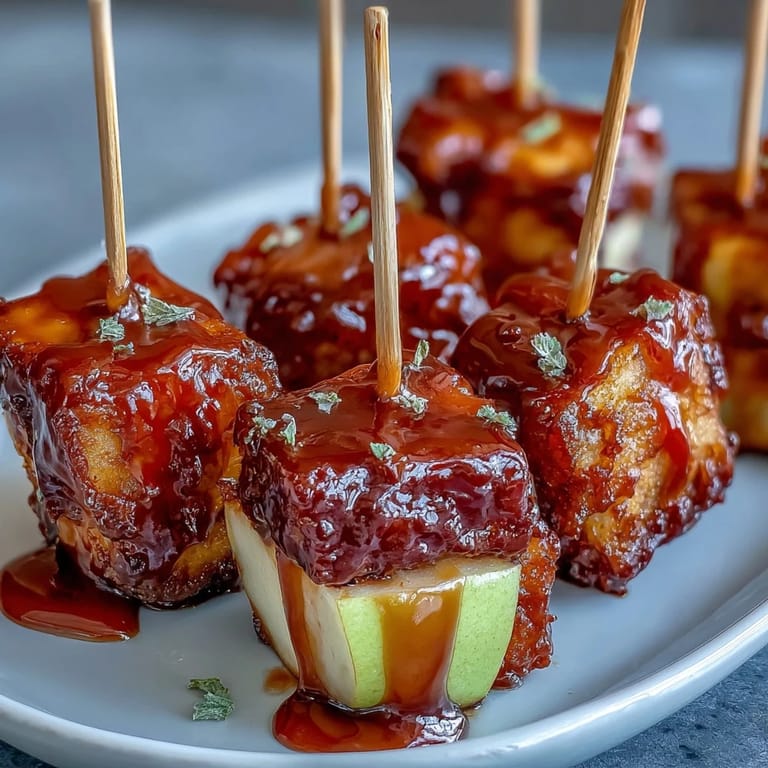
- When the thermometer hits 300°F, remove the pan from heat and stir in your food coloring right away. Working fast because the candy sets quickly, dip each apple chunk into the hot coating, swirl to coat completely, and let the excess drip off before placing it on your prepared tray.
- Finish with toppings (optional):
- If you're using nuts, chocolate chips, or sprinkles, sprinkle them on immediately while the candy is still warm and sticky enough to hold them. If you wait even two minutes, they won't stick, so this is your window.
- Let them cool and harden:
- Leave everything untouched at room temperature for at least an hour, though they're honestly better if you give them a few hours to set completely solid.
 Save
Save The thing that surprised me most was how this simple recipe became the centerpiece of conversations at parties. People wanted to know the secret, swapped stories about candy apples from fairs they'd visited, and suddenly we were all nostalgic for things we'd experienced at totally different times and places. It's wild how food does that.
Why Temperature Matters So Much
The difference between 290°F and 300°F feels tiny on paper, but it's actually huge in the candy world. At soft crack stage, your coating will be chewy and stick to your teeth; at hard crack stage, you get that satisfying snap and crunch that makes people go back for more. I learned this the hard way by not paying attention to my thermometer one afternoon and ending up with something closer to a lollipop than a candy apple.
Timing and Patience
The hardest part of this whole recipe isn't the candy making, it's actually the waiting at the end. I've definitely tried to serve them before they cooled completely and watched the candy soften or the toothpick slip right out of the apple. Give yourself at least an hour, preferably more, and you'll have perfect bites that hold together beautifully.
Make Them Your Own
Once you nail the basic technique, you can play with colors, toppings, and even apple varieties to keep things interesting. I've made them with green coloring for a more elegant look, topped some with crushed candy canes for a holiday twist, and even tried them with Honeycrisp apples when Granny Smiths weren't available. The beauty of this recipe is that it's forgiving enough for experimentation but structured enough that you'll get reliable results.
- Try making a batch with two different colors if you're feeling fancy, or stick one color on half the apples and a different shade on the other half.
- Keep your thermometer clean between uses because sugar residue can throw off your temperature reading next time.
- Store finished bites in an airtight container away from humidity, and they'll actually last up to five days if they don't get eaten sooner.
 Save
Save These mini bites have become my answer to almost every gathering invitation because they're simple enough to feel manageable but impressive enough to make people think you're some kind of candy genius. Once you make them once, you'll understand why.
Recipe Q&A Section
- → What type of apples work best for candy coating?
Crisp varieties like Granny Smith or Fuji hold up well under the candy coating, providing a firm and juicy bite.
- → How do I prevent the candy coating from sticking to the tray?
Line your tray with parchment paper sprayed lightly with nonstick spray to ensure easy removal after the coating hardens.
- → Can I customize the toppings on these apple bites?
Yes, you can sprinkle chopped nuts, mini chocolate chips, or sprinkles right after dipping before the coating hardens for added texture.
- → What temperature should the candy coating reach for a hard shell?
The candy syrup should reach the hard crack stage at 300°F, ensuring the coating hardens with a crisp texture.
- → Are these bites suitable for specific dietary needs?
They are vegetarian and gluten-free, but check toppings for allergens like nuts if added.