 Save
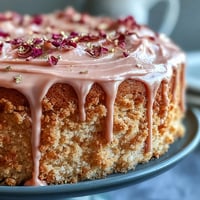
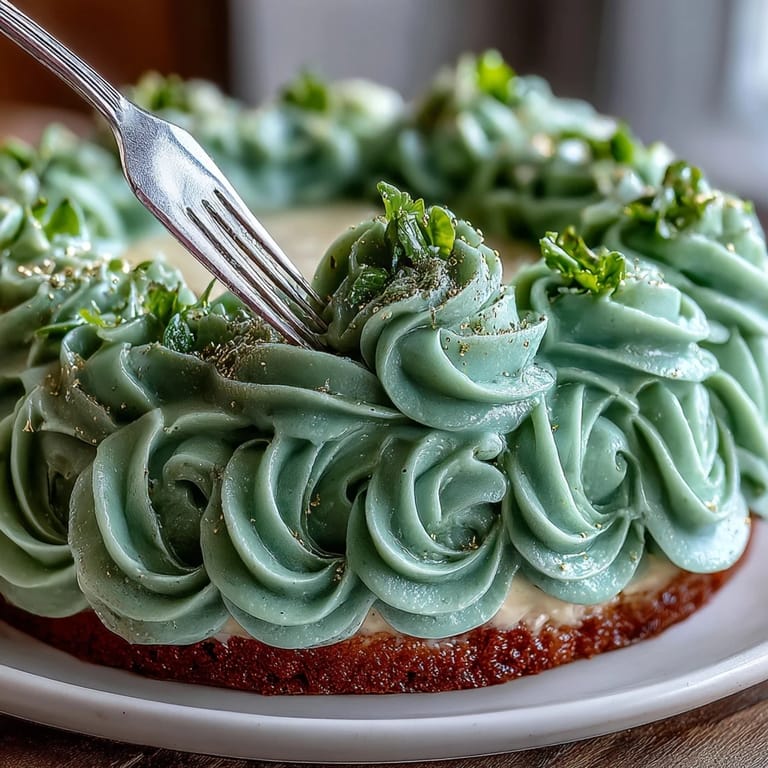
Save Last spring, I found myself humming along to my favorite playlist as I wrestled with the idea of making something memorable for a friend's graduation party. Instead of the usual cupcakes and cookies, I decided to try a sage green and gold sheet cake—worrying more about smudging the buttercream than the actual baking. The gentle scent of vanilla drifted through my tiny kitchen, feeling equal parts festive and calming. By the time I dipped a brush into shimmering luster dust, the entire countertop looked like I'd hosted an amateur art class. That first bite—soft, buttery, and just sweet enough—made every speck of gold worthwhile.
I still laugh when I remember icing this cake beside my roommate, who couldn't resist piping a wonky little cap in the corner as her secret signature. Friends gathered around, nibbling off frosting roses before the cake even hit the table, and the room buzzed with stories about their plans for the future. Each slice handed out felt like a mini celebration in itself—more hugs, more laughter, and a few crumbs trailing across the floor.
Ingredients
- All-purpose flour: This forms the base and gives a tender structure to the cake—sifting it with leaveners saves you from lumps later.
- Baking powder: I always double check that it’s fresh for maximum fluffiness each time.
- Salt: Just a pinch balances the sweetness, bringing the vanilla flavors up a notch.
- Unsalted butter: Room temperature makes it creamy and easy to whip, so your batter turns out airy.
- Granulated sugar: Creaming this well with butter gives that classic soft, tight crumb we know and love.
- Large eggs: Crack them gently and let them warm up to room temp—they mix in so much better.
- Pure vanilla extract: Don’t skip this; a generous spoonful makes a difference in aroma and taste.
- Whole milk: Provides rich moisture and keeps the crumb delicate—add it slowly so the batter stays smooth.
- Powdered sugar: For cloud-like buttercream, make sure to sift it to avoid bumps.
- Heavy cream or milk: Use just enough to adjust the consistency so the frosting glides as you spread.
- Sage green gel food coloring: This gel shade is key to a sophisticated look—add little by little for your perfect green.
- Gold edible luster dust: For those glamorous accents, mixing with clear vanilla makes it easier to paint details.
- Clear vanilla extract or vodka: Thins out the luster dust—just a drop or two does the trick for a shiny finish.
Tired of Takeout? 🥡
Get 10 meals you can make faster than delivery arrives. Seriously.
One email. No spam. Unsubscribe anytime.
Instructions
- Prep and Line:
- Crank up the oven to 350°F and line your sheet pan with parchment, letting the edges overhang—think of it as a cake parachute for easy lifting later.
- Whisk Dry Ingredients:
- Stir flour, baking powder and salt together until they blend in a pale heap, ready for action.
- Cream Butter and Sugar:
- With an electric mixer, whip the butter and sugar until pale and billowy—scrape down the sides for an even mix.
- Add Eggs and Vanilla:
- Beat in the eggs one by one, listening for that satisfying slurp each time, then stir in the vanilla.
- Combine Wet and Dry:
- Add flour mixture and milk in turns, starting and ending with flour—mix gently to avoid overbeating (flecks of flour are fine at first).
- Bake and Cool:
- Spread the batter smoothly into the pan, bake until a toothpick emerges clean, then let cool completely before the fun begins.
- Make Buttercream:
- Beat the butter until creamy, add powdered sugar in batches, and pour in vanilla, salt, and cream as needed—it’s ready when fluffy but still holds its shape.
- Tint and Reserve:
- Tint most of your buttercream sage green and stash ½ cup for the gold accents—explore with color slowly until you love it.
- Frost the Cake:
- Swipe the sage green buttercream over your cooled cake with an offset spatula, swirling gently for texture.
- Gold Accents:
- Mix gold luster dust with clear vanilla or vodka and, using a food-safe brush, add strokes or painted piping details—it feels almost like decorating a canvas.
- Decorate:
- Finish with sprinkles, little graduation caps, or any celebratory touches you love.
 Save
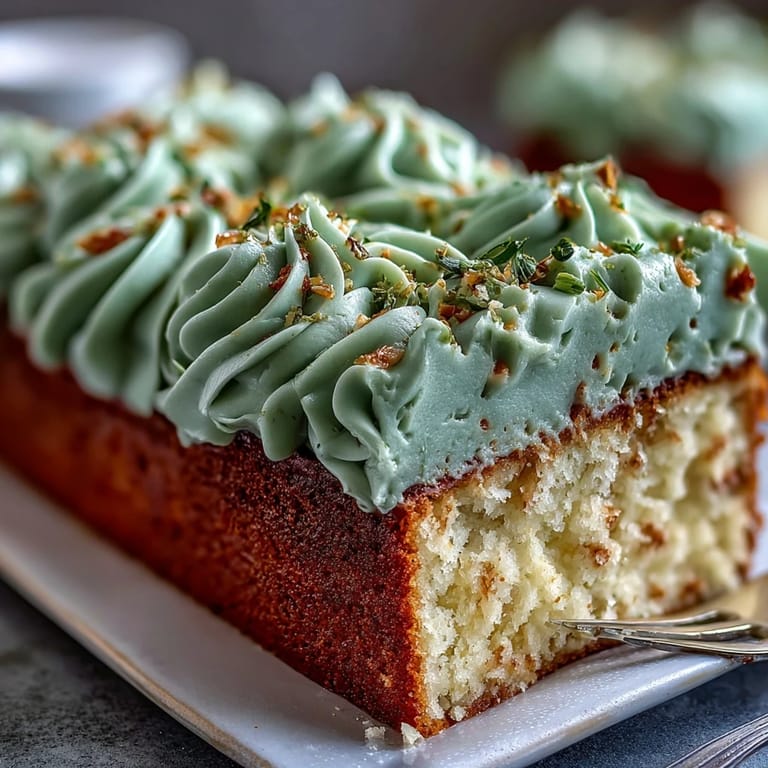
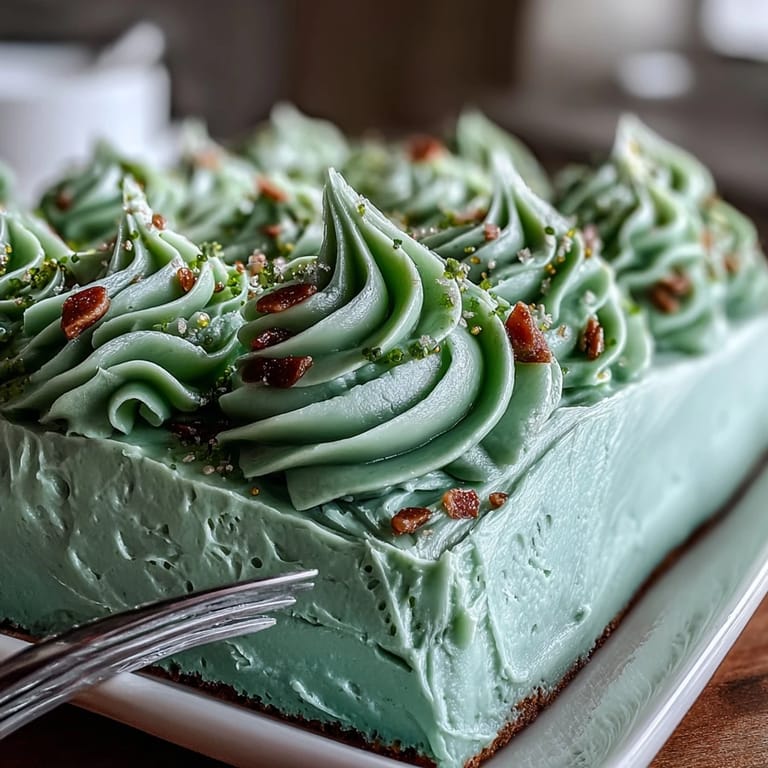
Save At that graduation, watching the gold shimmer under the lights and hearing everyone’s delighted gasps made me realize this cake had quietly become a symbol of the day—a sweet marker of new beginnings and shared happiness.
Decorating Tricks That Wow
I learned that piping little dots or rosettes with a star tip and brushing over them with gold dust makes even the most basic sheet cake look bakery-worthy. If you don’t own piping bags, zip-top bags snipped at a corner do the trick, and everyone will only notice the sparkle. Don’t worry if your hands shake—imperfect gold squiggles add real character.
Switching Up the Flavors
Some afternoons, I swap in a dash of almond or lemon extract for the vanilla and find it brightens the cake in surprising ways. You can even adapt this to chocolate by adding cocoa powder and a little extra milk. There’s really no wrong path—just taste things as you go and trust your gut.
Making It Ahead (and Saving Your Sanity)
Sheet cakes are a planner’s dream because you can bake and frost a day ahead, letting the flavors settle and the frosting set. I often chill mine overnight and decorate the day of, saving the gold details for last minute so they stay vibrant.
- Wipe your knife between each cut for perfect squares.
- Reserve a little extra buttercream for touch-ups, just in case.
- If you're short on time, store-bought gold sugar pearls make a fast accent.
 Save
Save Whether you’re celebrating a milestone or just want something pretty on the table, this cake always brings a little extra shine to the party. Happy baking and may your kitchen counter be sparkling—not just with luster dust, but with happy memories.
Recipe Q&A Section
- → How do I get an even sage green color?
Use concentrated gel food coloring and add it a little at a time to the buttercream, mixing thoroughly between additions. Start with a small amount—gel pigments are strong—and adjust under natural light to avoid over-darkening.
- → What's the best way to make smooth buttercream for spreading?
Beat butter until creamy before adding sifted powdered sugar in batches. Add vanilla and a tablespoon of cream at a time until you reach a spreadable consistency. Scrape the bowl often and finish on medium-high speed for silky texture.
- → How do I create durable gold accents that look authentic?
Combine edible gold luster dust with a few drops of clear vanilla or vodka to form a paintable sheen. Use a food-safe brush to apply to piped buttercream or mix a small amount into reserved buttercream for marbled gold. Allow painted areas to set before stacking or transporting.
- → How can I prevent the sheet cake from drying out?
Avoid overbaking by testing with a toothpick near the center; remove when it comes out with a few moist crumbs. Use room-temperature ingredients, measure flour accurately, and consider brushing the cooled cake with a thin syrup for extra moisture if desired.
- → What storage and make-ahead options work best?
Buttercream-covered sheet cake keeps well refrigerated, covered loosely with plastic wrap. For best slicing, chill the assembled cake until firm, then bring to room temperature briefly before serving. You can bake the sheet and freeze or refrigerate the unfrosted slab; frost after thawing and cooling completely.
- → Can I adjust flavors or make it gluten-free?
Yes. Swap extracts—almond, lemon, or chocolate additions—to vary the base flavor. For gluten-free, use a cup-for-cup gluten-free flour blend; texture may differ, so monitor bake time and crumb closely.