 Save
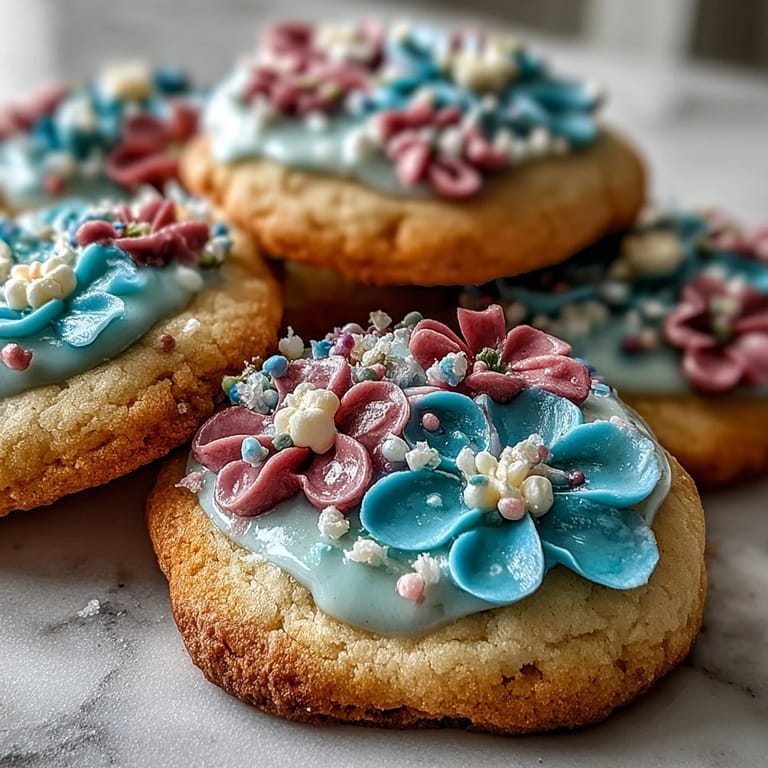
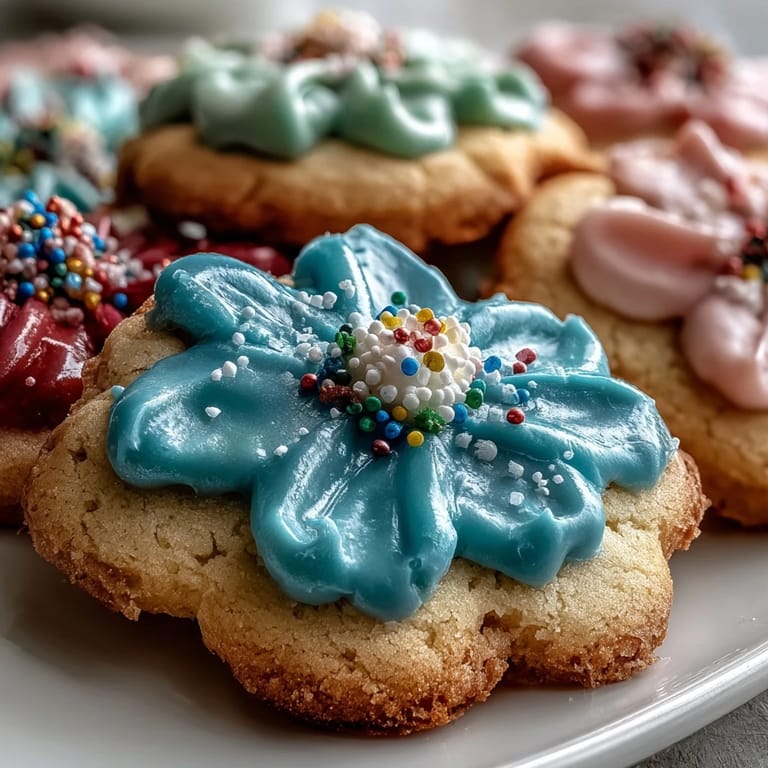
Save There's something magical about baking these delicate flower cookies on a quiet Sunday afternoon when the kitchen feels like your own little studio. I discovered this recipe while browsing through old handwritten cards at a farmers market, tucked between someone's notes on jam-making and pressed flowers. The moment I piped that first soft pastel icing onto a cooled cookie, watching the pale pink bloom across the buttery surface, I knew these would become my go-to for every spring gathering and baby celebration that came my way.
I'll never forget the first time I made these for my neighbor's baby shower—she had mentioned in passing that she loved anything pastel and garden-themed, and I wanted to surprise her with something handmade. Watching her face light up when she opened the box, then carefully choosing which cookie to eat first because they looked too pretty to actually destroy, made me realize these aren't just cookies; they're tiny works of happiness you can actually eat.
Ingredients
- All-purpose flour: The foundation that gives these cookies their delicate texture without being too dense or crumbly.
- Unsalted butter: Softened butter creams beautifully with sugar and creates that melt-in-your-mouth quality that makes people reach for a second cookie.
- Granulated sugar: Mixed with butter, it aerates the dough and keeps the cookies tender rather than tough.
- Large egg: Brings everything together and adds just enough moisture so the dough rolls smoothly without cracking at the edges.
- Powdered sugar: Must be sifted before mixing into the royal icing to prevent lumps that would ruin your smooth finish.
- Meringue powder: This is the secret to royal icing that stays glossy, dries beautifully, and doesn't taste like raw egg whites.
- Food coloring gels: Gel colors are more concentrated than liquid, so you achieve true pastels without thinning your icing with excess water.
Tired of Takeout? 🥡
Get 10 meals you can make faster than delivery arrives. Seriously.
One email. No spam. Unsubscribe anytime.
Instructions
- Mix your dry ingredients:
- Whisk flour, baking powder, and salt together in a bowl and set it aside, so you're ready to go when the butter and sugar are perfectly creamed.
- Cream the butter and sugar:
- Beat them together for 2 to 3 minutes until the mixture looks pale, fluffy, and almost mousse-like; this is what gives your cookies their tender crumb.
- Incorporate the egg and vanilla:
- Add these slowly and beat until the mixture is smooth and homogeneous, which takes longer than you'd expect but matters for even baking.
- Bring it all together:
- Add your dry ingredients to the wet mixture in a few additions, mixing just until you don't see any streaks of flour anymore; overmixing makes tough cookies.
- Chill the dough:
- Wrap your two discs in plastic and refrigerate for at least an hour so the dough firms up and won't stick when you roll it out.
- Preheat and prepare:
- Set your oven to 350°F and line your baking sheets with parchment paper while the oven reaches temperature.
- Roll and cut:
- On a lightly floured surface, gently roll one dough disc to about 1/4-inch thick, then cut your flower shapes and place them an inch apart on the sheets. Re-roll any scraps until you've used all the dough.
- Bake until golden:
- Bake for 10 to 12 minutes, watching for just a hint of golden color at the edges; they'll continue to set as they cool and you want them tender, not crispy.
- Make your royal icing:
- Combine sifted powdered sugar and meringue powder, then add water one tablespoon at a time, stirring until you have a thick but spreadable consistency.
- Color your icing:
- Divide the white icing into small bowls and add just a tiny dab of gel color to each, stirring until you reach soft, pastel shades that feel dreamy and springlike.
- Decorate with joy:
- Spread or pipe the icing onto completely cooled cookies, letting your creativity guide you, then allow everything to set for at least an hour before stacking or packaging.
 Save
Save There was this one afternoon when my friend stopped by unexpectedly and found me piping lavender icing onto a cookie with the focus of someone performing surgery, and she laughed and asked if this was really just about making cookies. It wasn't, I realized—it was about creating something so beautiful that it made people smile before they even tasted it, which somehow felt more important.
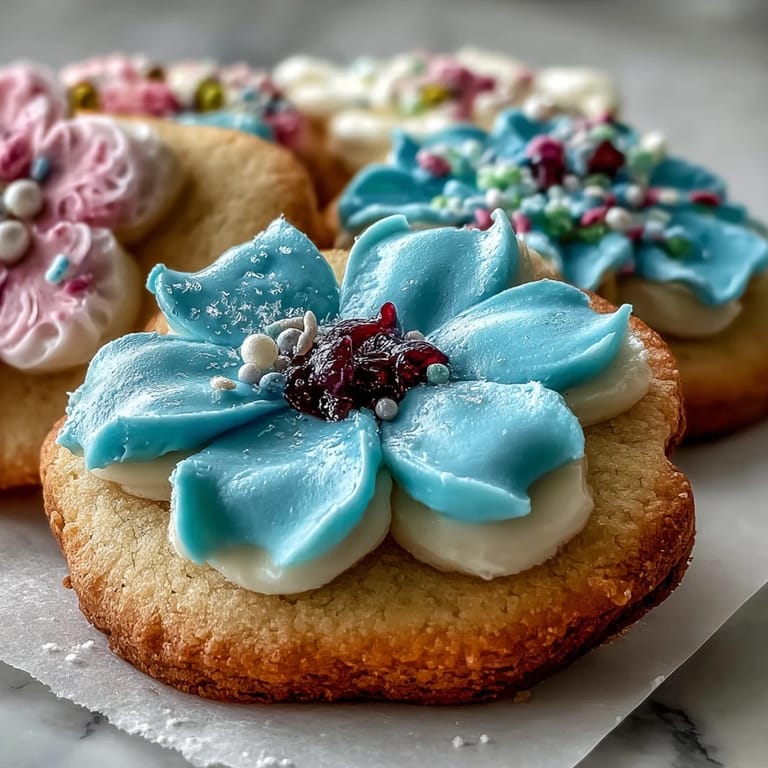
The Secret to Perfect Flower Shapes
I learned early on that the size of your cookie cutter matters more than I expected; too large and the flowers look clunky when it's time to decorate, too small and you're working with dough that's fragile to handle. A medium flower cutter around 2 to 3 inches across feels just right, letting you pipe details without feeling cramped or worried the cookie will crumble. Also, dipping your cutter in a little flour between cuts prevents sticking and keeps your shapes crisp instead of ragged.
Mastering Royal Icing Consistency
The trickiest part isn't the icing itself but getting the water-to-powder ratio exactly right, which honestly changes depending on humidity and how you measure. I've learned to add water one tablespoon at a time and stir patiently, testing the texture by lifting a spoon and watching how the icing flows back into the bowl; it should drip slowly but smoothly, like silk ribbons. If you mess up and it's too thick, add water drop by drop, and if it's too thin, sift in a bit more powdered sugar until you hit that sweet spot.
Creative Decorating and Storage
These cookies become tiny canvases for whatever mood strikes you—solid colors, ombre effects, delicate patterns piped with thin tips, or even hand-painted details if you're feeling artistic. Once the icing has set completely, you can layer them between parchment in an airtight container where they'll stay fresh and beautiful for up to five days, making them perfect for baking ahead before a celebration. If you're gifting them, stack them carefully in a pretty box or tin and include a little note about storage so they arrive as pristine as the moment you finished decorating them.
- Pastel gel colors mixed with white icing create softer, more elegant shades than pure bright colors.
- Let each batch of icing set for at least an hour before stacking cookies or they'll stick together and ruin the design.
- These cookies freeze beautifully before decorating, so you can make the dough weeks ahead and bake whenever inspiration strikes.
 Save
Save Baking these cookies never feels like a chore because the reward is so immediate and visible—you get to fill a box with edible beauty and watch people's faces when they realize you made them by hand. They're the kind of recipe that reminds you why you love being in the kitchen in the first place.
Recipe Q&A Section
- → What type of flour is best for these cookies?
All-purpose flour is recommended to provide the right structure and tenderness essential for delicate flower shapes.
- → How does chilling the dough affect the texture?
Chilling firms the dough, making it easier to roll and cut precise shapes while preventing excessive spreading during baking.
- → What is the purpose of meringue powder in the icing?
Meringue powder stabilizes the royal icing, helping it to harden smoothly while maintaining a spreadable consistency.
- → Can I substitute any ingredients for dietary restrictions?
For dairy-free options, plant-based butter can replace traditional butter without compromising flavor or texture.
- → What are some decoration tips for detailed icing work?
Use piping bags with small round tips for precise floral patterns and layering pastel colors for a refined appearance.
- → How should I store these cookies to maintain freshness?
Store in an airtight container at room temperature to keep cookies crisp and icing intact for several days.