 Save
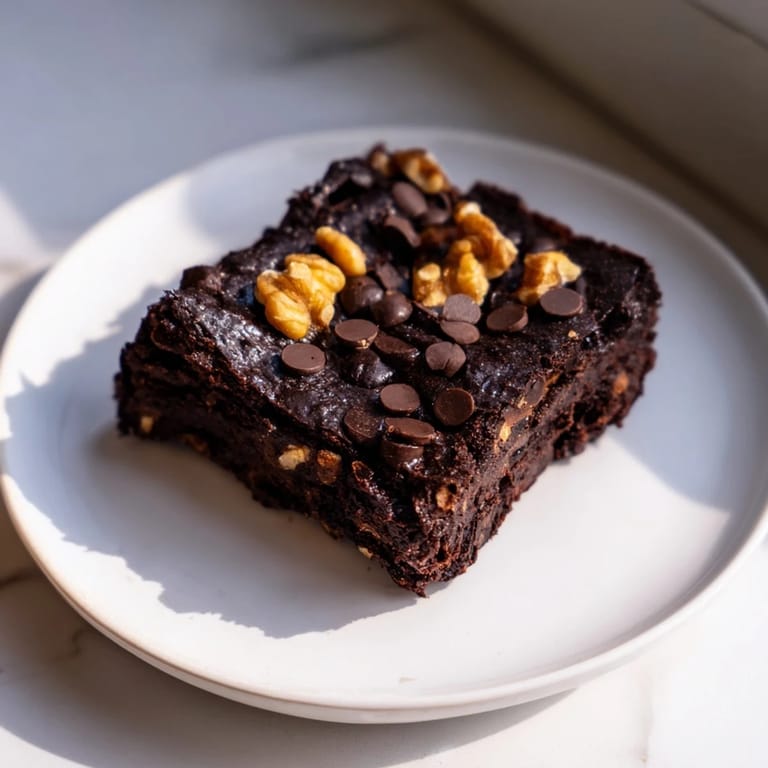
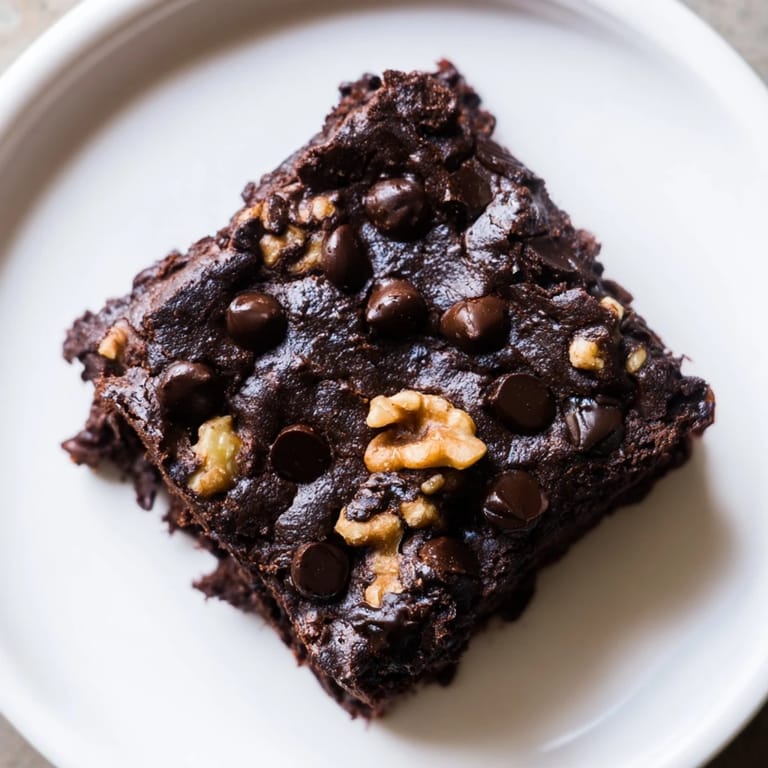
Save My friend Sarah handed me a brownie at her kitchen counter one afternoon, and I nearly dropped it when she casually mentioned it was made from black beans. I was skeptical until that first bite—fudgy, rich, utterly decadent, and absolutely nothing like what I expected. She laughed at my surprise and admitted she'd stumbled onto the recipe by accident while searching for gluten-free desserts, and now it's become her secret weapon for potlucks and quiet moments with good coffee.
I made these for a small dinner party last winter, nervous about serving something so unconventional to people I barely knew. But something magical happened when everyone tasted them—suddenly we weren't talking about the beans anymore, we were talking about whether it was the cocoa or the texture that made them so good. One guest asked for the recipe three times, each time shaking her head in disbelief that she couldn't taste the beans at all.
Ingredients
- Black beans (1 can, drained and rinsed): They're the secret base that creates that dense, fudgy crumb and adds protein and fiber without any detectable flavor—just make sure to rinse them well or your brownies will taste slightly earthy.
- Eggs (2 large): They're your binding agent here, and they help create that characteristic brownie texture that keeps people coming back.
- Melted coconut oil (1/3 cup): It keeps these naturally dairy-free and adds a subtle richness—butter works beautifully too if that's what you have on hand.
- Vanilla extract (2 tsp): This quiet ingredient pulls the chocolate flavor forward and makes the whole batch taste more rounded and intentional.
- Sugar (2/3 cup): Granulated or coconut sugar both work; the coconut version adds a whisper of caramel undertone if you're paying attention.
- Cocoa powder (1/2 cup unsweetened): This is where the chocolate intensity lives—don't skip it or use sweetened cocoa, or your brownies will taste flat.
- Baking powder (1/2 tsp): Just a touch to help them rise slightly and keep them from becoming dense hockey pucks.
- Salt (1/4 tsp): A tiny pinch that makes everything taste more like chocolate and less like sweet flour paste.
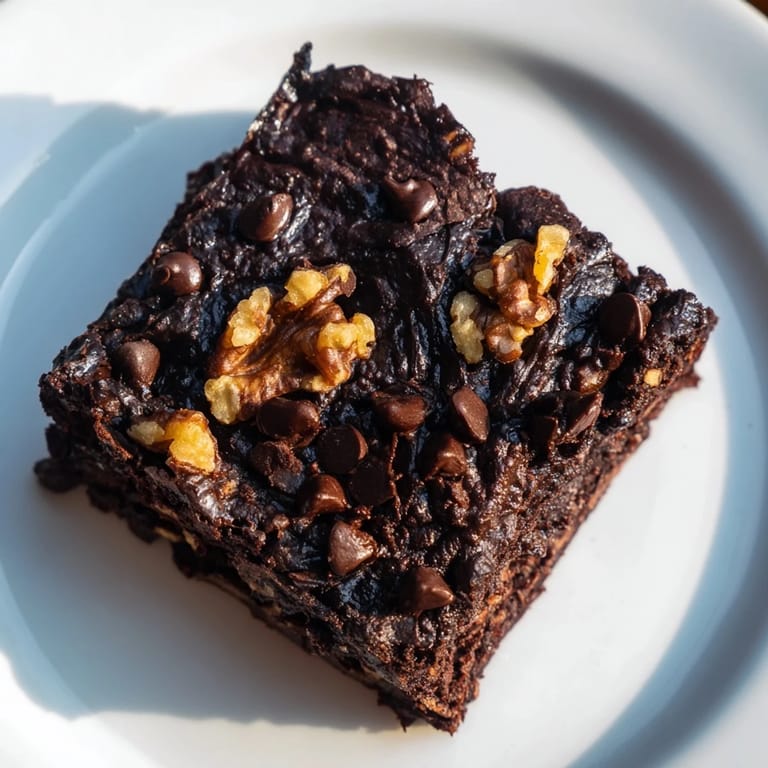
- Dark chocolate chips (1/3 cup): These optional add-ins create pockets of extra richness and give you little rewards as you eat—totally worth including.
- Walnuts or pecans (1/4 cup chopped): An optional textural contrast that some people love and others skip, so do what feels right.
Tired of Takeout? 🥡
Get 10 meals you can make faster than delivery arrives. Seriously.
One email. No spam. Unsubscribe anytime.
Instructions
- Get everything ready to go:
- Preheat your oven to 350°F and line an 8x8-inch pan with parchment paper or a light grease—this step matters because it keeps you from wrestling with brownies that stick. The oven needs time to reach the right temperature so your brownies bake evenly rather than cooking faster on the edges.
- Make the base smooth and beautiful:
- Dump the drained black beans, eggs, melted coconut oil, and vanilla into a food processor or blender and let it run until everything is completely smooth and creamy—stop halfway through to scrape down the sides so nothing hides at the bottom. This is where the magic happens; you're essentially creating a silky batter that will never reveal its secret ingredient.
- Fold in all the dry stuff:
- Add the sugar, cocoa powder, baking powder, and salt to the processor and blend again until you have a thick, mousse-like batter with no lumps or streaks of dry cocoa hiding in the corners. Take your time here and make sure the cocoa powder gets fully incorporated or you'll bite into pockets of bitterness.
- Add your mix-ins with care:
- Pour the batter into a bowl and use a spatula to fold in the chocolate chips and nuts if you're using them—folding is gentler than stirring and keeps the batter light. This moment is your chance to taste the raw batter (I know you want to) and decide if it needs anything else.
- Get it into the pan:
- Spread the batter evenly into your prepared pan and smooth the top with the back of a spoon or spatula so it bakes uniformly. If you want extra chocolate glamour, sprinkle a few more chips on top now while the surface is still soft enough to hold them.
- Bake with patience and presence:
- Slide the pan into your preheated oven and set a timer for 22 to 25 minutes—you're looking for the center to feel set when you jiggle the pan gently, and a toothpick inserted in the middle should come out mostly clean with a few moist crumbs clinging to it. Those crumbs are the difference between fudgy and dry, so don't overbake waiting for a completely clean toothpick.
- Let them rest and transform:
- Remove the pan from the oven and let it cool completely on the counter before cutting—this is hard to do, but it's when the brownies fully set and firm up. For the absolute fudgiest, most luxurious texture, chill them in the refrigerator for at least an hour; they'll taste like little chocolate dreams.
 Save
Save There's something almost meditative about pulling a pan of these brownies from the oven and knowing you've just made something that tastes fancy but started with ingredients from the back of your pantry. It feels a little like magic every single time, and it never gets old.
Variations and Swaps That Work
These brownies are remarkably flexible, which is part of their charm. I've made them with almond butter swirled into the batter, with instant espresso powder added for deeper chocolate flavor, and once with a splash of bourbon because I was feeling adventurous and had a bottle open on the counter. Each version tastes slightly different but equally delicious, so don't be afraid to experiment once you've made them the classic way at least once.
Making Them Vegan (When That Matters)
If you're cooking for someone who eats plant-based or you just want to skip the eggs for personal reasons, flax eggs work beautifully here. Mix 2 tablespoons of ground flaxseed with 5 tablespoons of water, let it sit for five minutes until it gets thick and gluey, and swap it in for the two regular eggs—the result is nearly identical and nobody will know unless you tell them.
Storage, Serving, and the Little Details
Keep these brownies in an airtight container at room temperature for up to three days, or refrigerated for up to five days if you want them to last longer. They're wonderful dusted with powdered sugar right before serving, or drizzled with melted chocolate if you want to make them feel extra special and restaurant-worthy. A small glass of cold milk or a cup of coffee is all they really need, though honestly they're perfect completely on their own.
- If your brownies seem to be baking too fast on the edges, tent the pan loosely with foil halfway through so they cook more evenly.
- These freeze beautifully for up to two months, so make a double batch and tuck half away for a future moment when you need a little chocolate comfort.
- Room temperature brownies are cake-like; chilled brownies are fudgy and dense—choose your serving temperature based on your mood.
 Save
Save These brownies have become my quiet confidant—the thing I make when I need to feel capable and a little bit clever, or when I want to share something delicious with someone and watch their face change when they find out what's hiding inside. That never gets old.
Recipe Q&A Section
- → Can I substitute eggs in these brownies?
Yes, you can use flax eggs (2 tbsp ground flaxseed mixed with 5 tbsp water) to make a vegan version.
- → What gives these brownies their fudgy texture?
The black beans provide moisture and density, while the melted coconut oil adds richness, resulting in a fudgy consistency.
- → Are these brownies gluten-free?
Yes, black beans replace flour, making these brownies naturally gluten-free.
- → Can I add nuts or chocolate chips to the batter?
Absolutely, folding in chopped walnuts or pecans along with chocolate chips adds texture and flavor.
- → How should I bake these brownies for best results?
Bake at 350°F (175°C) for 22–25 minutes until the center is mostly set with slight moist crumbs for optimal fudginess.
- → Is there an alternative to coconut oil in the recipe?
Yes, melted butter or other neutral oils can be used instead of coconut oil.