 Save
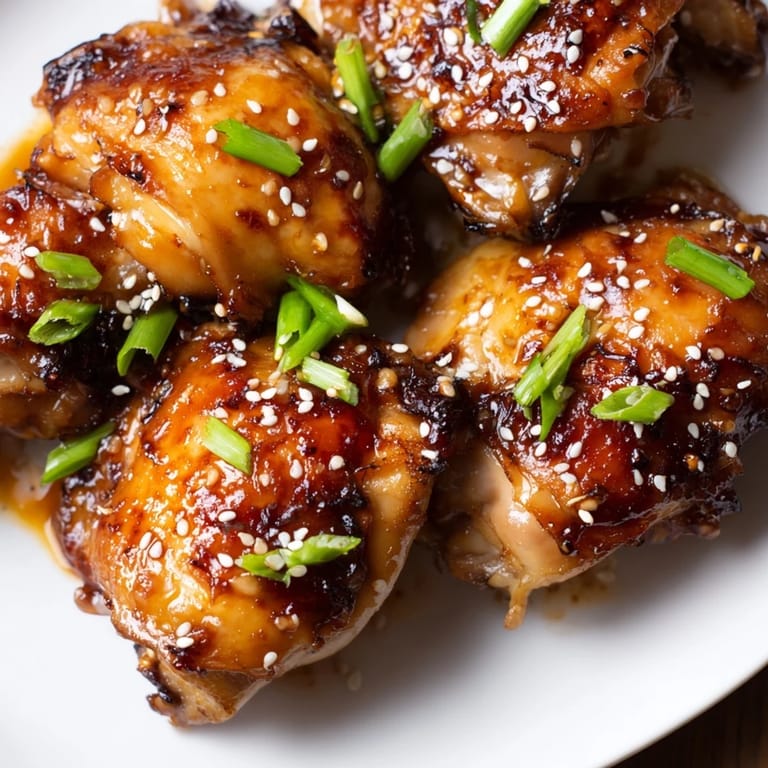
Save My neighbor Marcus called me over one evening with a problem: he'd bought beautiful chicken thighs on sale but had no idea what to do with them. While his kitchen filled with the smell of garlic hitting hot oil, I realized this honey-garlic glaze we threw together would change how he cooked forever. That night, watching him plate those glossy, caramelized thighs with the sauce pooling underneath, I saw his whole face light up. Sometimes the best recipes come from happy accidents and borrowed time in someone else's kitchen.
I made this for my book club once, doubling the recipe because I underestimated how many people would ask for seconds. One guest actually set her fork down and asked if I was secretly a restaurant chef—which made me laugh since I'd learned it from improvising in Marcus's kitchen just weeks before. The best part wasn't the compliment though; it was realizing that simple, honest food has a way of making people feel genuinely cared for.
Ingredients
- Bone-in, skin-on chicken thighs (8): Dark meat stays tender because of its higher fat content, plus that skin will crisp up beautifully when seared first—don't skip this step even though boneless works in a pinch.
- Honey (1/3 cup): This is where the glaze gets its character, so use real honey, not the squeeze bottle stuff, and it'll caramelize into something genuinely special.
- Soy sauce (1/4 cup, low sodium preferred): The salt anchor of the whole dish, and low sodium gives you control over the seasoning instead of drowning everything.
- Garlic (4 cloves, minced): Fresh is absolutely essential here because you're hitting it with heat quickly, and that transforms it from sharp to mellow and sweet.
- Rice vinegar or apple cider vinegar (1 tbsp): A small amount cuts through the richness and keeps the glaze from becoming cloying—this is the secret nobody talks about.
- Water (2 tbsp): Sounds boring, but this loosens the glaze so it coats everything evenly and becomes that glossy, spoonable sauce.
- Olive oil (1 tbsp): High heat cooking needs a fat that won't smoke, and this is your workhorse for getting that initial sear.
- Crushed red pepper flakes (1/2 tsp, optional): A whisper of heat at the end if you want it, but don't feel like you need it—the glaze is already doing plenty of heavy lifting.
- Fresh parsley or green onions for garnish: These feel like optional fussing until you taste how they brighten everything up and add a little freshness to cut the richness.
- Toasted sesame seeds (optional): A nutty crunch that takes this from weeknight dinner to something that feels more intentional.
Tired of Takeout? 🥡
Get 10 meals you can make faster than delivery arrives. Seriously.
One email. No spam. Unsubscribe anytime.
Instructions
- Heat your oven and prep the chicken:
- Get your oven to 400°F and pat those chicken thighs completely dry—moisture is the enemy of crispy skin, so don't rush this step. Season generously with salt and pepper on both sides.
- Sear the skin side down:
- Heat your olive oil in an oven-safe skillet over medium-high heat until it shimmers, then lay the chicken thighs skin-side down and listen for that satisfying sizzle. After 3 to 4 minutes, you should see golden-brown skin that releases easily when you touch it with tongs.
- Flip and sear the other side:
- Flip each thigh carefully and cook the underside for about 2 minutes until it picks up some color. This isn't about cooking it through; it's about building flavor and texture.
- Build your glaze:
- Remove the chicken to a plate and add your minced garlic to the same skillet, stirring constantly for about 30 seconds until your kitchen fills with that garlicky aroma—if it smells burnt, your heat is too high. Pour in the honey, soy sauce, vinegar, and water, stirring to combine, then let it come to a gentle simmer.
- Return chicken and glaze:
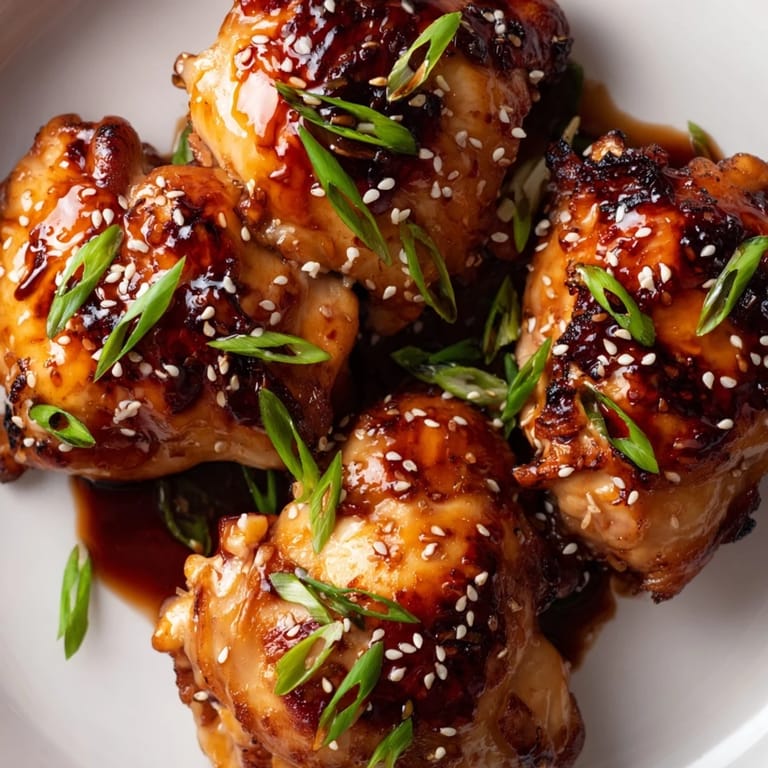
- Nestle those thighs back into the skillet skin-side up and spoon the glaze over each one, making sure the sauce coats them evenly. The chicken should be partially surrounded by glaze, not drowning in it.
- Finish in the oven:
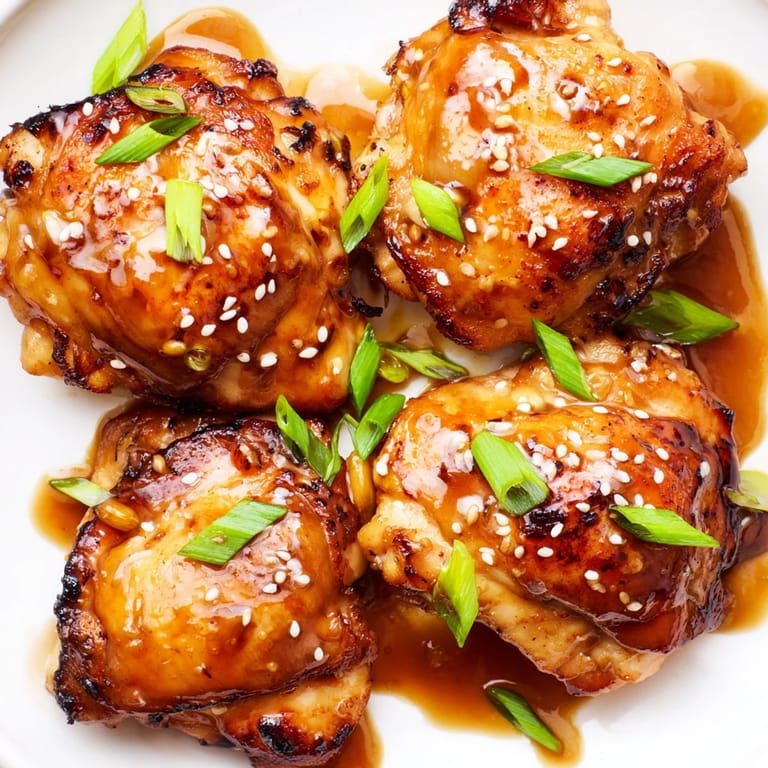
- Transfer the whole skillet to your preheated oven and bake for 18 to 22 minutes, basting the chicken with glaze halfway through—this step is what makes the skin truly caramelized and gorgeous. When the chicken reaches 165°F in the thickest part, you're done.
- Rest and garnish:
- Let everything sit for 5 minutes out of the oven so the juices settle back into the meat. Sprinkle with fresh parsley or green onions and sesame seeds, then serve immediately while the skin is still crackling.
 Save
Save There was a moment during that book club dinner when someone asked for the recipe, and three other people immediately pulled out their phones to take notes—that's when I realized this honey-garlic glaze had moved from being just a dish into being something I'd probably make forever. Food that brings people together like that has a way of becoming part of your kitchen identity.
The Secret to Crispy Skin
The real magic happens when you sear the chicken thighs skin-side down before the oven ever gets involved, and this matters more than any other single step. I learned this the hard way by skipping that part once, thinking the oven would handle it, and ended up with rubbery skin that nobody wanted to bite into. Once you understand that searing creates a foundation for crispiness that baking alone can't achieve, you'll never make chicken thighs any other way.
Stretching This Recipe
The glaze proportions work beautifully for 8 thighs, but if you need to feed more people, you can double everything and it scales perfectly. I've also discovered that cooking boneless thighs or even breasts works fine if that's what you have on hand, just trim about 5 to 7 minutes off the baking time since they'll cook faster without the bone. The magic of this recipe is how forgiving it is, so don't stress if your version looks slightly different from anyone else's.
Serving and Storage Ideas
Steamed jasmine rice soaks up that glaze like nothing else, and a quick stir-fry of snap peas or bok choy on the side rounds everything out into a complete meal. Leftovers stay delicious in the fridge for three days, and you can reheat gently in a 350°F oven rather than the microwave, which keeps the skin from getting soggy.
- Serve over rice or noodles to catch every drop of that sticky, caramelized sauce.
- A simple green salad with a light vinaigrette provides a cool, crisp contrast to the rich chicken.
- This dish reheats beautifully, so it's perfect for meal prep or bringing to a potluck.
 Save
Save This honey-garlic glazed chicken has become the recipe I turn to when I want something that feels effortless but tastes like I actually know what I'm doing. It's comfort food with a little sophistication, and that's exactly the kind of dish worth keeping close.
Recipe Q&A Section
- → Can I use boneless chicken instead of bone-in thighs?
Yes, boneless chicken thighs or breasts work well. Reduce the baking time by 5–7 minutes and check for doneness at 165°F internal temperature to prevent drying out.
- → How do I make the skin extra crispy?
After baking, turn on the broiler and broil the chicken for 2–3 minutes. Watch closely to prevent burning while the glaze caramelizes and the skin crisps beautifully.
- → What can I serve with this dish?
This pairs perfectly with steamed jasmine rice, fried rice, or quinoa. Add stir-fried vegetables, roasted broccoli, or a crisp Asian slaw for a balanced meal.
- → Can I make this gluten-free?
Absolutely. Simply substitute regular soy sauce with tamari or a certified gluten-free soy sauce. All other ingredients are naturally gluten-free.
- → How do I store leftovers?
Store cooled chicken in an airtight container in the refrigerator for up to 3 days. Reheat in the oven at 350°F to maintain crispy skin, or microwave for quick reheating.
- → Can I prepare the glaze ahead of time?
Yes, mix the honey, soy sauce, garlic, vinegar, and water up to 24 hours in advance. Store covered in the refrigerator and bring to room temperature before cooking.